Have you ever considered sharing your passions, ideas, or expertise with the world? Creating a WordPress blog is a great way to do that. As a beginner, you might be wondering where you should start. Thankfully, building a beautiful and engaging WordPress blog is easier than you think.
In this step-by-step guide, we’ll walk you through the process of how to create a WordPress blog, from choosing a domain to crafting your first blog post and designing a stunning blog website with Bricks Builder.
Let’s get started.
What You’ll Need to Create a WordPress Blog
Before we dive into how to create a WordPress blog, we should mention a few important things you’ll need to get started:
- Domain Name: This is your blog’s unique address on the internet, like yourwebsite.com. Choose something memorable that is relevant to your content and brand.
- WordPress Hosting Plan: Think of web hosting as your blog’s home on the internet. It stores all of your website files and makes them accessible to visitors. There are different types of WordPress hosting available, but don’t worry, we’ll discuss those in a later step.
- WordPress Theme: Think of this as your website’s outfit or look. It’s the design visitors will see when they land on your website. WordPress has thousands of free themes on the WordPress repository, and there are plenty more available for purchase through third-party vendors, such as Elegant Themes.
- WordPress Plugins: Plugins add extra features and functionality to your blog. There are plugins for almost anything you can imagine, including contact forms, social media, SEO, and security.
- Content Creation Tools (optional): In addition to WordPress plugins, some creators may prefer to solicit help from other tools. These could include AI writing tools, such as Rytr or Jasper, or an AI art generator, such as Adobe Firefly or Jasper Art.
How to Create a WordPress Blog
Now that you have a better understanding of what you’ll need to get started, we can take the steps to show you how to create a WordPress blog. From choosing a domain name to designing your site, this tutorial will cover everything you need to do to set up a successful blog.
Step 1: Choose A Domain Name
Your domain name is your blog’s prime piece of online real estate. It’s the address people will type in to find your content, so choosing the right domain name is important. A catchy and memorable domain name makes it easier for people to find and remember your blog. It also helps establish your brand identity and can even play a small role in search engine optimization (SEO). To help you choose, here are a few tips to keep in mind when in the market for a new domain:
- Keep it Short and Sweet: Aim for something easy to remember and type
- Use Relevant Keywords: Include words that reflect your blog’s niche or topic
- Keep It On Brand: Consider using your blog’s name or a variation of it
- Check for Availability: Use a domain name registrar, such as Namecheap, to see if your desired name is available
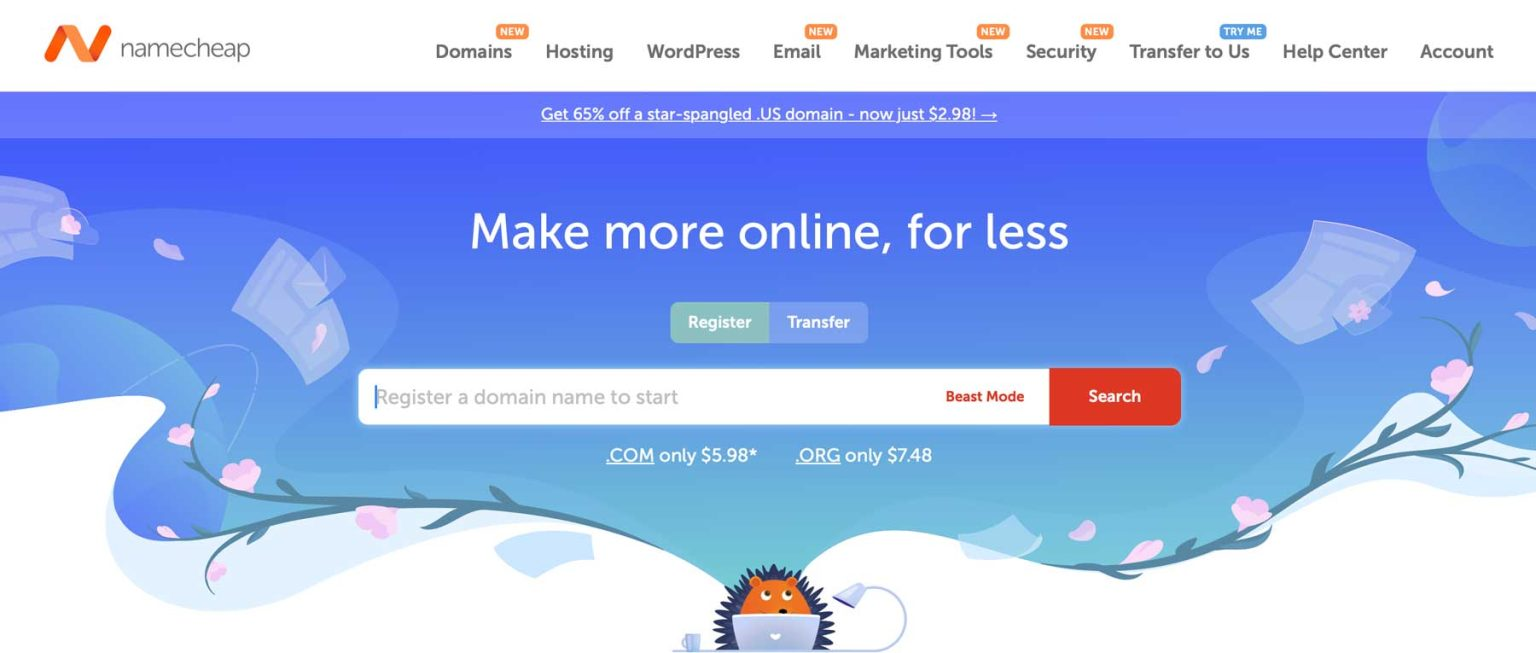
Namecheap is one of the most recognizable names in the domain registrar business. In fact, it offers one of the easiest and most affordable routes to take when registering a new domain name. They offer competitive pricing, with most domains costing less than $10 for the first year. They are also one of the only domain name registrars that offer free Whois privacy, which hides your personal contact information from public view. Namecheap also provides plenty of variety regarding top-level domains (TLDs). Aside from the traditional .com, you can find more specific extensions, like .blog, or location-based options like .co.uk. However, it’s important to choose a domain name extension that’s good for SEO so that your site has a better chance of performing better in the search engine ranking pages (SERPs).
Step 2: Purchase A WordPress Hosting Plan
Imagine your domain name as your blog’s catchy address, but you also need a place to build your house. That’s where WordPress hosting comes in. A WordPress hosting plan provides the storage space and resources needed for your blog to be up and running on the internet. Here’s a breakdown of what to consider when choosing a WordPress hosting provider:
- Shared Hosting vs Other Options: The most common and affordable option, especially for beginners, is shared hosting. With shared hosting, your website shares space with other websites, which is perfectly fine for starting out. There are also Virtual Private Server (VPS) and dedicated hosting plans that offer more power and control, but they come at a higher cost and are better suited for high-traffic websites.
- Features: Look for a hosting plan that includes features specifically designed for WordPress. This might include one-click installs, automatic updates, and compatibility with popular WordPress plugins. This type of hosting is referred to as managed WordPress hosting, and serves as the best option for WordPress for most users
- Storage and Bandwidth: Storage space determines how much content you can store on your website, while bandwidth affects how much traffic your blog can handle. For a new blog, you won’t need a massive amount of storage or bandwidth, but choose a provider that allows room for growth
- Uptime and Reliability: This refers to how often your website is accessible to visitors. Look for a hosting provider with a high uptime guarantee (ideally 99.9% or higher) to ensure your blog is always available
- Customer Support: Having reliable customer support is crucial in case you run across any technical issues with your hosting. Choose a provider known for responsive and helpful support staff
InMotion Hosting is the Clear Choice For Optimized WordPress Hosting
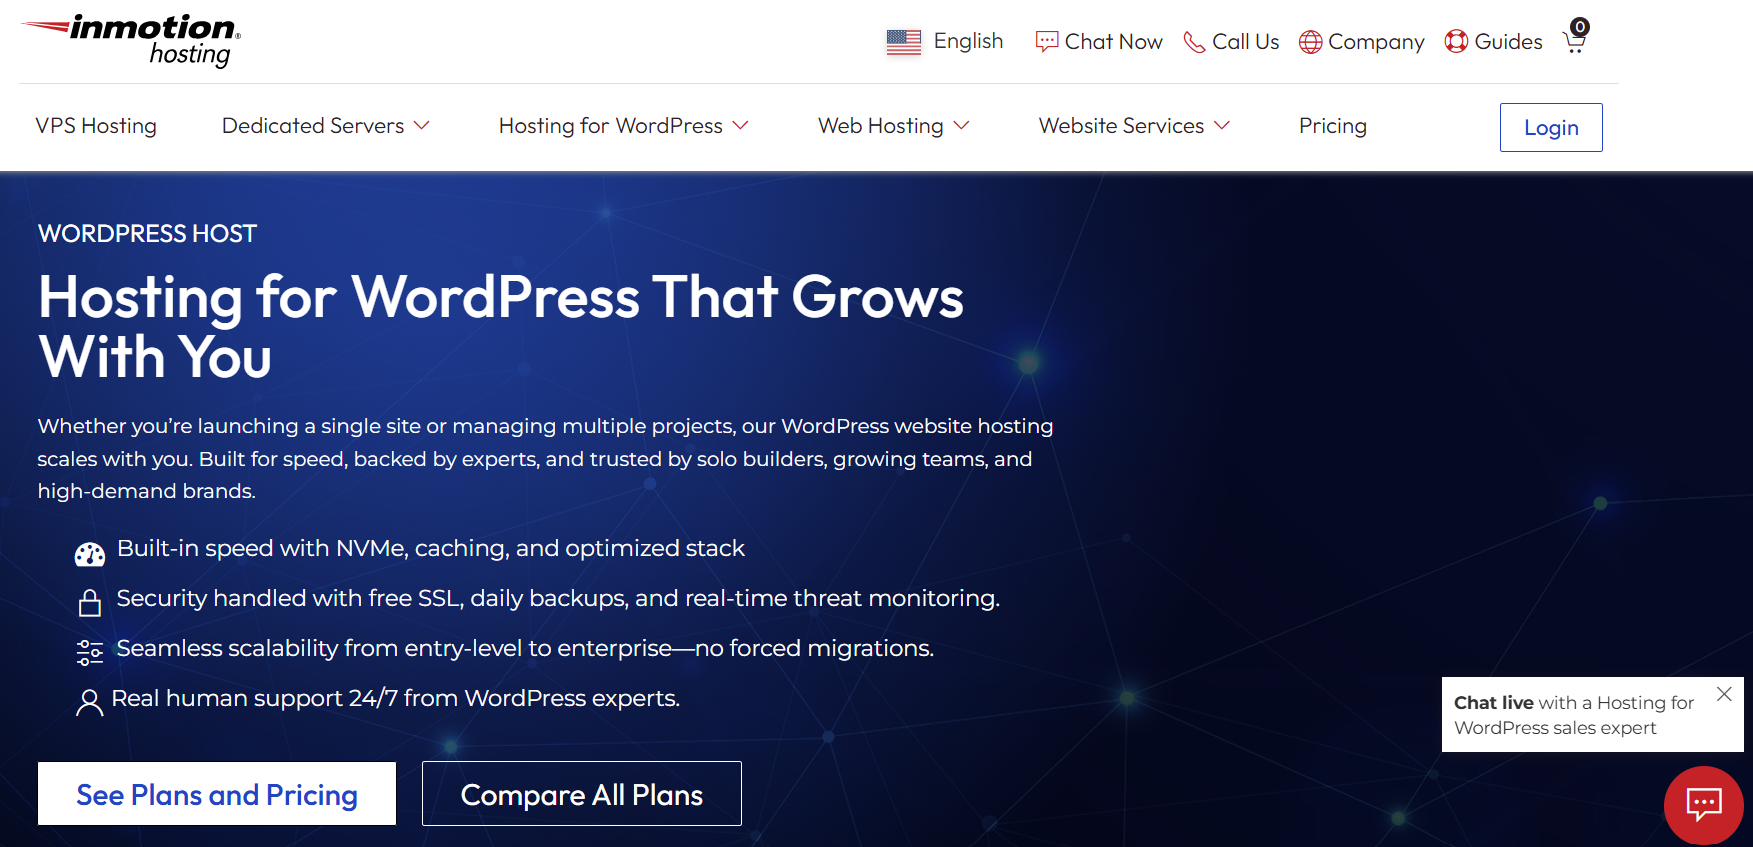
When looking for the best WordPress host that’s both fast and packed with features, the clear choice is InMotion. It offers optimized WordPress hosting, which means its server and configuration is specifically designed to host WordPress websites. It’s widely recognized for its excellent server performance and speed optimization tools. InMotion also offers everything a WordPress user wants or needs, including one-click WordPress installations, automatic updates, and many freebies.
Every Inmotion plan comes with at least 10GB of storage, 10,000 monthly site visitors, unmetered traffic, SSL certificate, site migrations, content delivery network (CDN), and secure email. If you need a more robust plan, InMotion makes it easy to upgrade your hosting plan with zero downtime, ensuring that as your site’s following grows, you’ll be able to handle it.
Step 3: Install and Configure WordPress
Depending on your chosen hosting provider, installing and configuring WordPress can be easy. When you opt for InMotion, they’ll do all the hard work of installing WordPress for you. Should you select a different provider, you may need to take steps to install it yourself. If this is your specific scenario, GraphicKandy has a definitive solution to help you get up to speed.
For this tutorial, we’ll walk you through the steps to install WordPress on a InMotion hosting plan. After signing up. We can also do the heavy lifting for you!
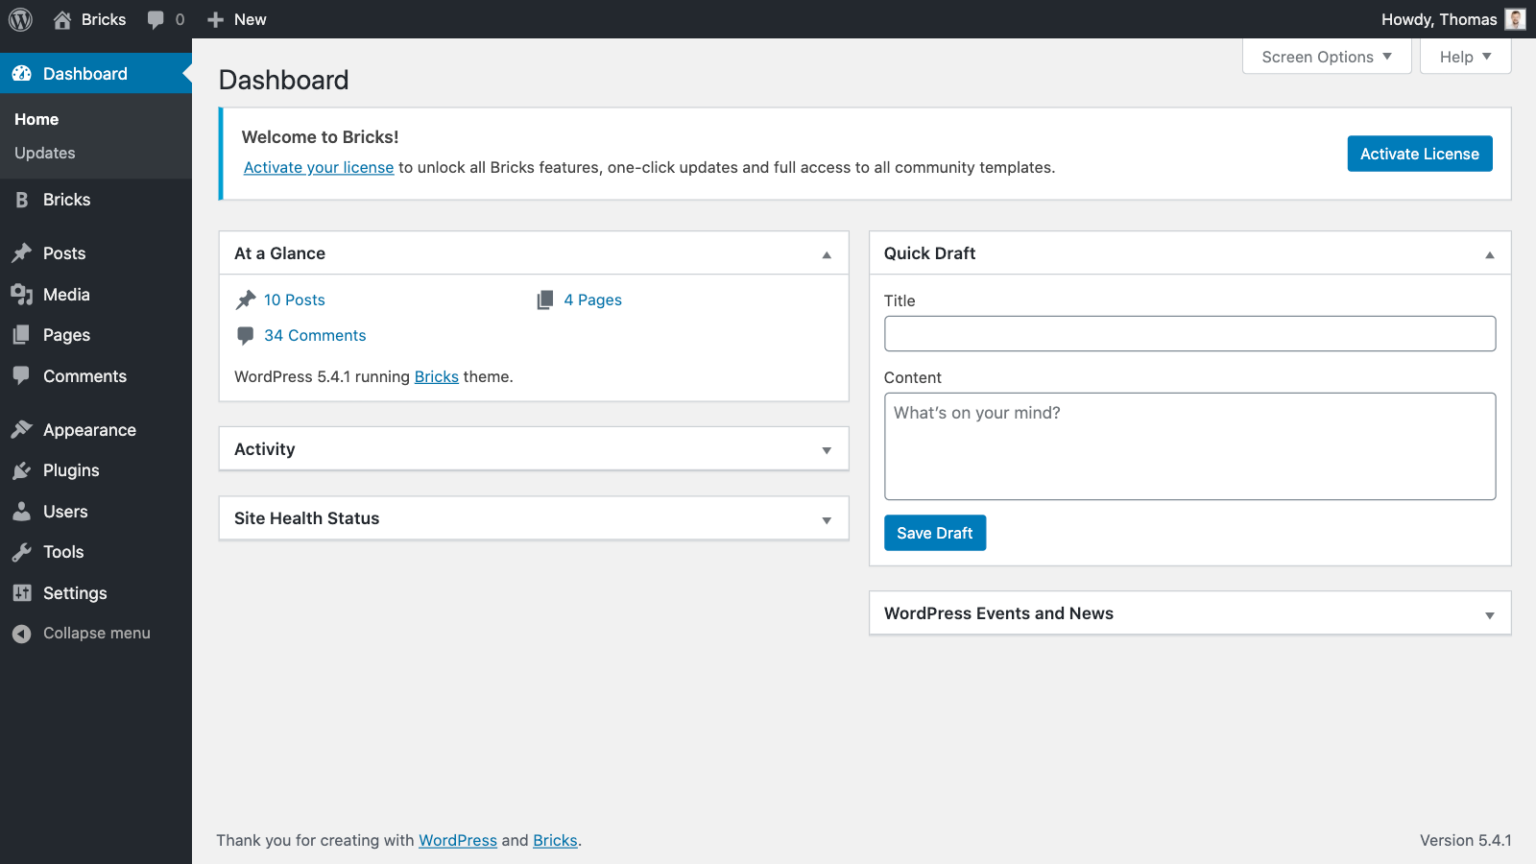
The WordPress Dashboard: A Brief Overview
When you first log into WordPress, you’ll have a little learning to do. All of WordPress’ tools are located on the left-hand side of the screen on the toolbar.
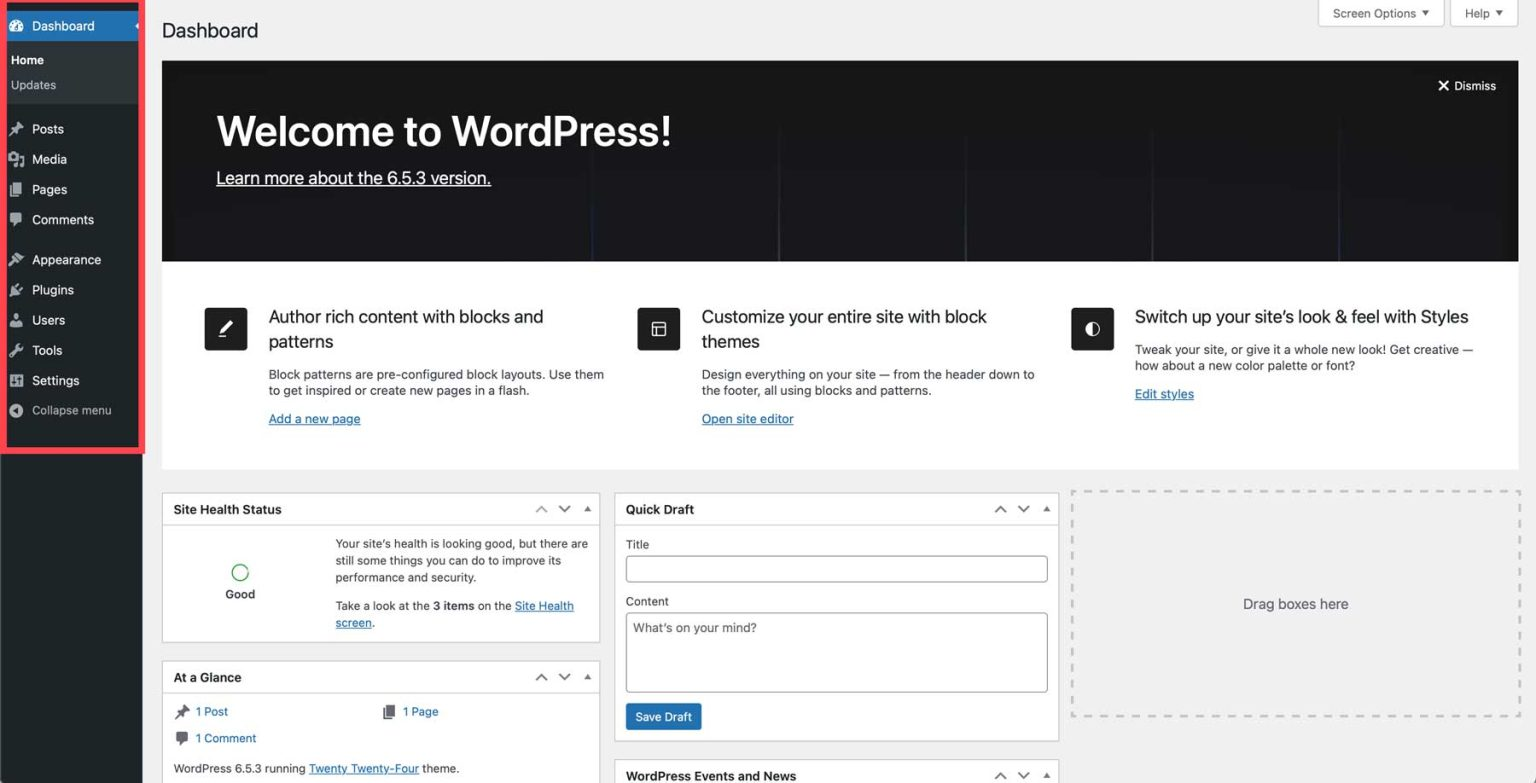
We won’t go through all of the settings here; rather, we’ll provide some helpful articles to help you understand how to navigate the dashboard:
- Posts: Similar to pages, posts are how you populate your blog with content. Whether you want to write an article about raising kittens or cook a new recipe, posts are the building blocks of WordPress content
- Media: This is where all of your documents, images, and videos are stored. You can upload, edit, or delete files in the Media Library.
- Pages: These contain all of your blog’s static content. Think of a home, about, or blog page. Pages can be used to create landing pages to run Google ads, new projects, and more.
- Comments: Interact with your site’s visitors through WordPress’s built-in comment system.
- Appearance: Install new themes, edit templates (full-site editing), and more
- Plugins: Install, deactivate, or delete plugins, which are WordPress extensions that add extra functionality to your website
- Users: Add new users, edit permissions, assign user roles, and edit their profiles
- Tools: Import or export XML files for moving content between WordPress sites, get a glimpse into your website’s health, and edit theme and plugin files
- Settings: Assign a home page, manage permalinks, manage comment and media settings, and configure privacy settings
Step 4: Install The Bricks Builder Theme
How To Install The Bricks Theme
Installing Bricks is the same as any other WordPress theme.
First, download the latest version of Bricks from your account at https://my.bricksbuilder.io/.
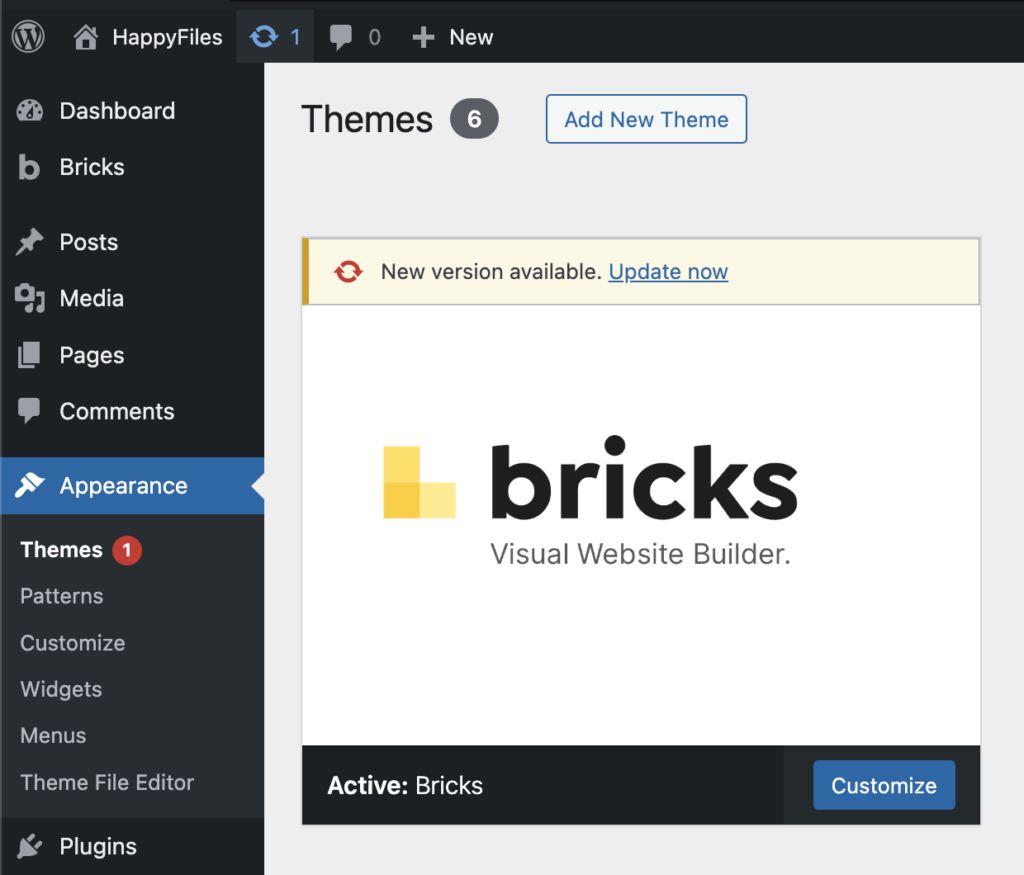
Next, head over to your WordPress dashboard. Go to Appearance > Themes and click the Add New button.
On the next screen click the Upload theme button and select the bricks.zip WordPress theme from your computer. Click Install Now.
If the upload fails, ensure your max file upload size to set to at least 16 MB. As a last resort, you can unpack and upload the bricks folder via FTP into the /wp-content/themes directory.
Activate Your License
Once Bricks is installed you should see a new menu item named Bricks in your WordPress dashboard, plus the following notification that prompts you to activate your license in order to use the builder:
Go to Bricks > License or click the Activate License link. This should bring up the license activation screen:
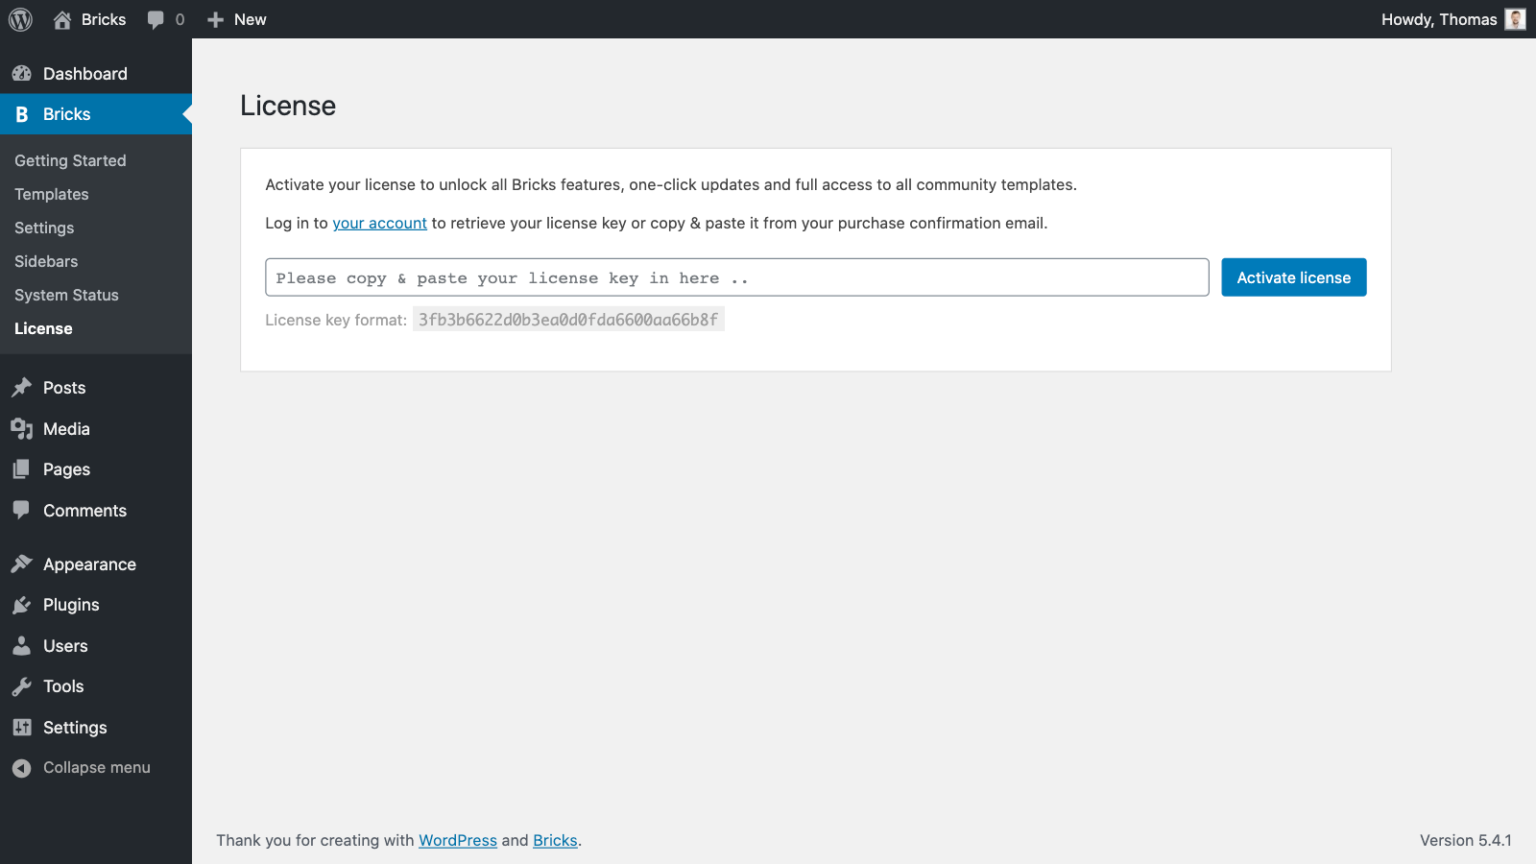
Copy your Bricks license key from your Bricks account and paste it into the license field. Click Activate License.
Your license should now be active:

That’s it! You are now ready to start building your site with Bricks.
How To Update Bricks
If you have activated your Bricks license key on your site, you’ll automatically receive update notifications in your WordPress dashboard. You can then perform the update to the latest version of Bricks with one click from your WordPress dashboard.
Purchase A Bricks Builder Subscription
If you haven’t already, you’ll need to sign up for a GraphicKandy subscription to use Bricks Builder. The cost is much more affordable than its competitors, thanks to its ability to create unlimited WordPress sites, either by scratch or through a GraphicKandy premade layout. Those already a member will only need to sign up for a GK preinstallation at just over $14.29 per month, if paying annually. For this tutorial, we’ll assume you want to join the our community and must sign up for a plan.
Find the theme template that’s right for you
There are varieties of theme templates that can be found at websites like Crocoblock that can help you get on your way. But again if you would like GraphicKandy to do all of the heavy lifting, we are here for you!
Start by navigating the GK homepage website and clicking the Contact Us link at the top.

Next, choose your plan. By going to our Web Deals page, you can select from a choice of custom made sites or opt for the installation-via-premade-blueprint and pay only $14.29 per month (annually).
Step 5: Write Your First Blog Post
Congrats! You’ve built the foundation for your WordPress blog. Now, it’s time to create a blog post. High-quality blog content is the lifeblood of any successful blog. It’s what establishes your expertise, engages your audience, and ultimately drives traffic to your site. Here are a few tips to craft captivating blog posts that resonate with your readers:
- Know Your Audience: Before writing your first blog post, it’s important to understand your target audience‘s needs and interests. Be sure to tailor your content to address their questions and provide solutions that resonate with them.
- Choose Engaging Topics: Pick subjects relevant to your niche but also intriguing enough to capture attention. Brainstorm topics based on your own expertise, conduct keyword research, and read up on current trends. Use a keyword research tool, like Semrush, to help you find relevant keywords and identify your competitors.
- Focus on Value: Every blog post should offer value to the reader. Provide insightful information, offer practical advice, or entertain them with your unique perspective.
- Write with Clarity and Conciseness: Strive for clear, concise writing that’s easy to understand. Employ an AI writing software to help you streamline existing copy or create new content. Learn how to write using AI.
- Proofread and Edit: Typos and grammatical errors can detract from your professionalism. Consider using a tool, such as Grammarly, that can help you identify spelling errors and detect plagiarism.
Keep in mind that your first blog post can be challenging. The key is to start creating, get your voice out there, and learn from the process. Your content will naturally evolve and improve as you continue writing and engaging with your audience.
We won’t go through all of the steps to design a blog post template here, but we have several tutorials on our friend’s blog that will walk you through the process.
Create Your First Blog Post
We can create our post now that we have a blog post template. Start by navigating to the WordPress admin dashboard. Navigate to Posts > Add New Post.
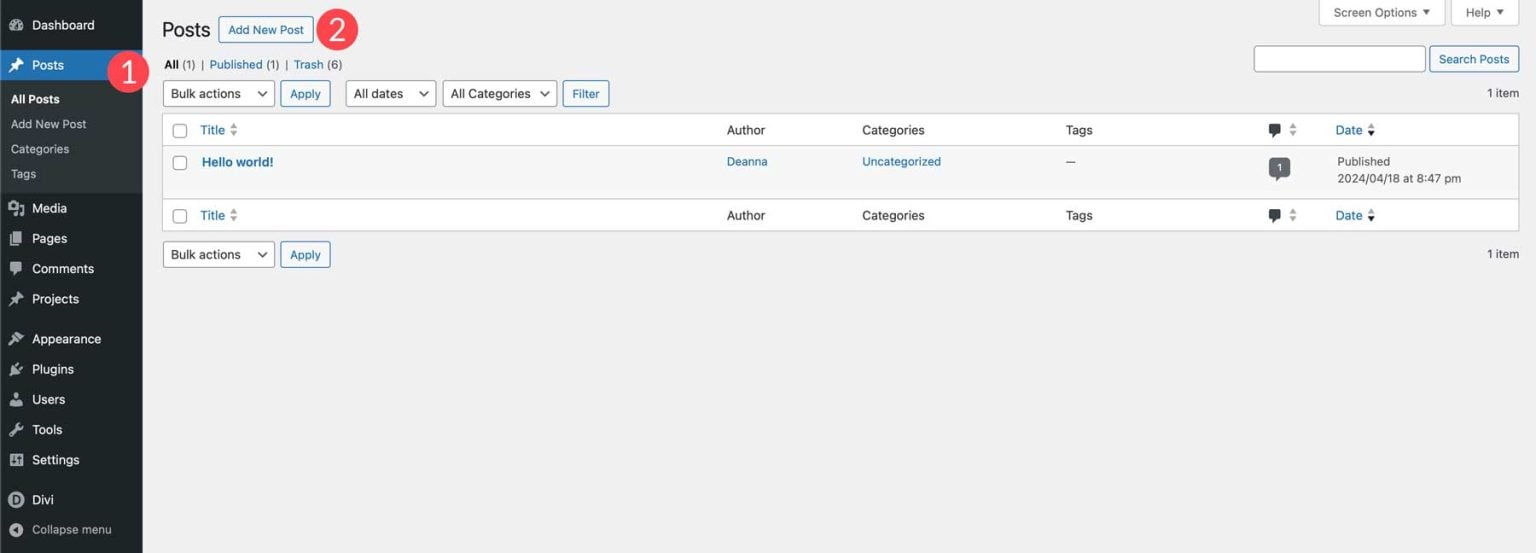
When the screen refreshes, you’ll see the default Gutenberg editor. Since we have a blog post template created, we can use blocks to write our post.
Step 6: Design Your Blog
With our first blog post created, we can concentrate on generating our static pages with Bricks Builder makes creating a WordPress blog effortless. As previously mentioned, Bricks has a powerful front-end Visual Builder that allows you to drag design modules onto the page. AI is availble throught the builder to help you through the process.
Create The Pages For Your Website
Before we can generate layouts, we need to create the page structure for our blog. We’ll start by adding a few pages, including Home, About, Blog, and Contact. Head over to Pages > Add New Page to get started.
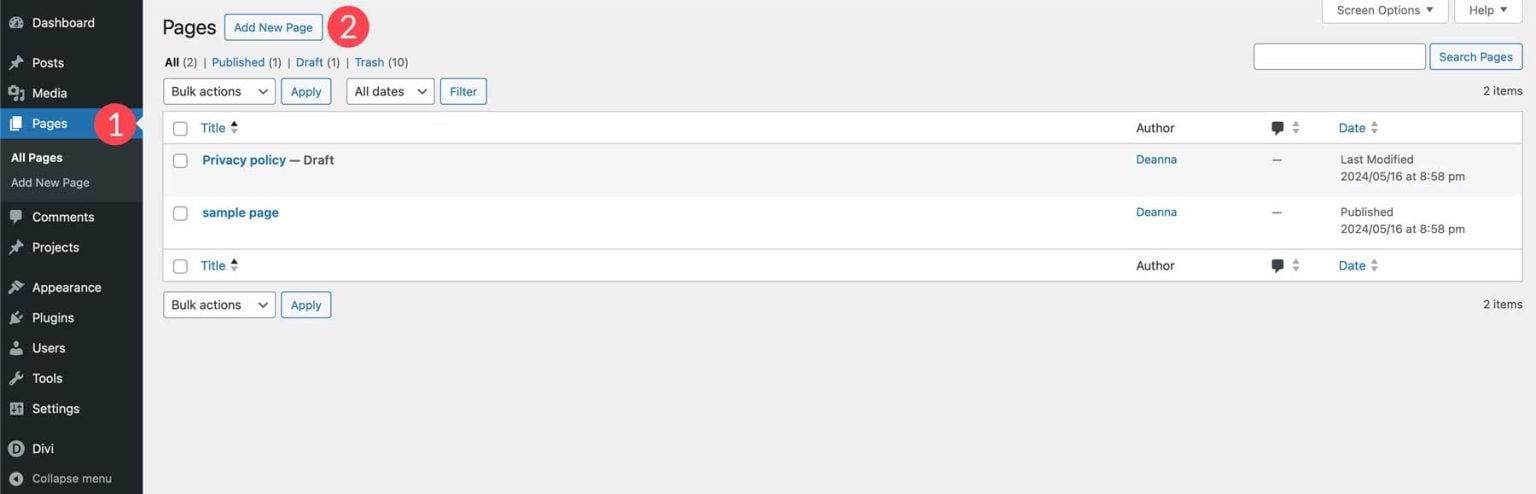
Give your new page a title and then click the Publish button. Repeat the steps above to create the rest of the pages for your WordPress blog.
Step 7: Add and Install Additional Plugins
With our blog post, pages, and navigation menu created, we can shift our focus to plugins. Think of plugins as the tools that enhance your WordPress blog’s functionality. They can add new features, improve security, optimize performance, and even help you manage your content more efficiently. Here are some must-have plugins to consider for your blog:
- SEO Plugins: SEO is crucial for getting your blog discovered online. Plugins, such as Rank Math, can help you optimize your content with relevant keywords, improve readability, and generate XML sitemaps for search engines.
- Security Plugins: Website security is also an important part of keeping your blog up and running. Plugins like Solid Security and WP Activity Log are great options for adding two-factor authentication (2FA), monitoring activity, and protecting you from hackers.
- Anti-Spam Plugins: An anti-spam plugin, such as Cleantalk or Akismet, is a must-have for any WordPress blog. They’ll automatically reduce spam comments, saving you time and keeping your comment section clean and professional.
- Contact Form Plugins: Allow users to easily reach out to you through a contact form on your blog. Plugins such as WP Forms, provide a simple drag-and-drop editor to build all types of forms, including registration, login, and contact.
- Image Optimization Plugins: Images are great for visual storytelling, but large files can slow down your website. Plugins like EWWW Image Optimizer and ShortPixel, optimize your images without sacrificing quality, ensuring fast-loading pages and a smoother user experience.
- Google Analytics Plugins: Track your website traffic and analyze visitor behavior with a plugin, such as MonsterInsights. Understanding your audience helps you tailor your content and improves the overall effectiveness of your blog.
Extend Bricks Builder with these amazing plugins and features:
Plugin for adding events
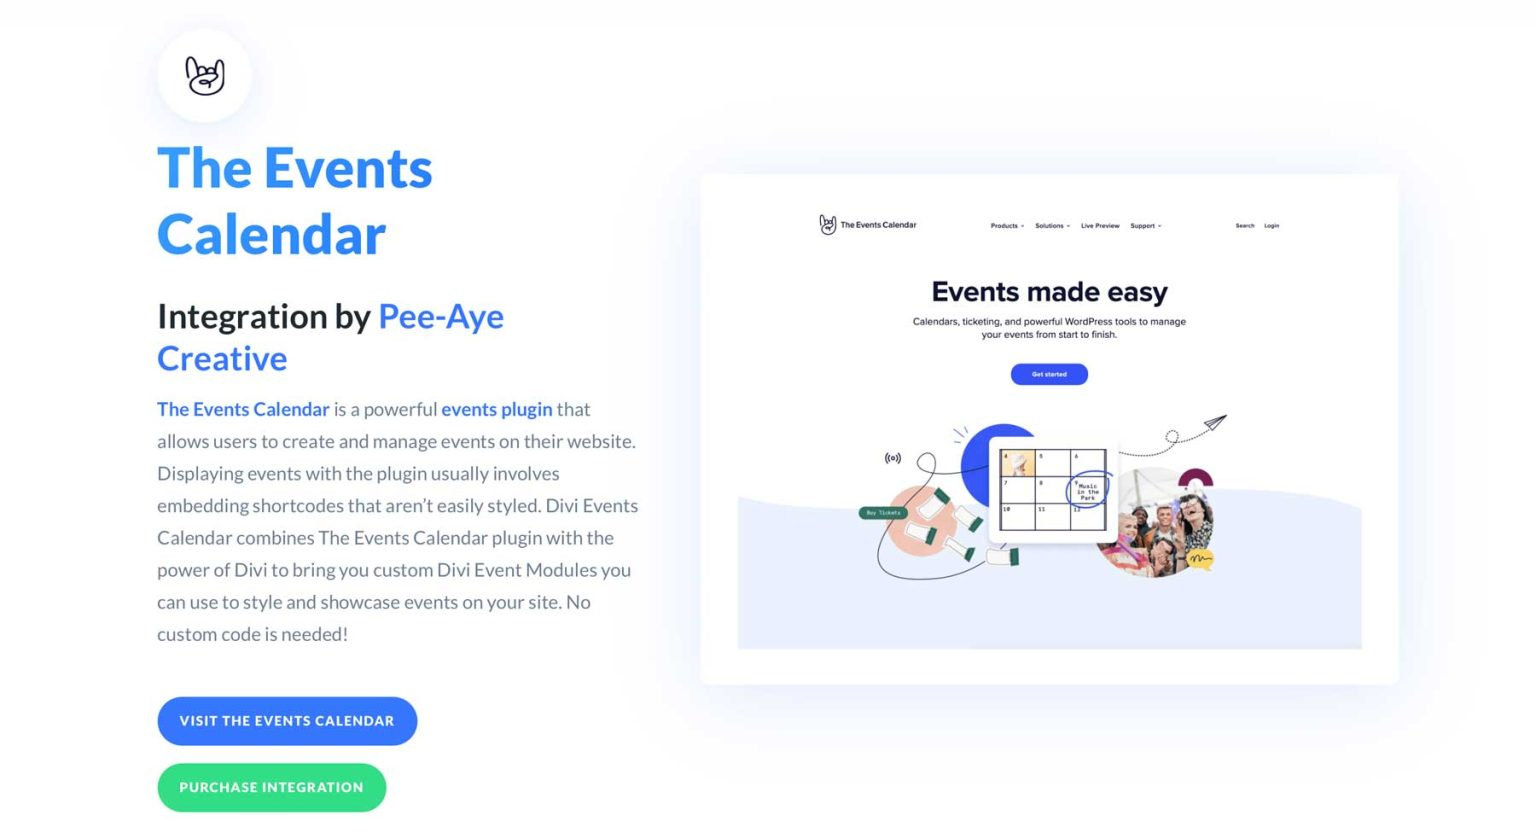
The Events Calendar is an amazing tool that adds events and calendars to your WordPress blog. The best part? It’s free to use! There is a paid option that adds a robust architecture but it is completely up to you.
Learn more about blogging
Are you interested in learning more about the products featured in this post? Feel free to contact us via the WhatsApp button to the right of this website or contacting us at GraphicKandy ——->
Parts of this article can be found at ElegantThemes.com


